Showing posts with label boy's clothing. Show all posts

Monday, May 12, 2014

Pirate of the Playground


A while back I posted about the "Pirate Girl" outfit I made for Miss G - she's all about being adventurous and brave and pirates pretty much fit the bill for that. And because Mr. T is so close in age to her, he usually wants to do whatever she does. So when I bought the pirate girl iron-on from Bunte Fabrics before it closed, I also bought a pirate boy and promised T that he could have a "Pirate Boy" outfit. I made the pants in August, not long before Aonghus was born. The shirt got finished in September and I figured I ought to blog them now before I forget to document them!

First up, the pants. I found this super cute medium-weight striped twill at JoAnn's a couple of years ago. At the time I'd thought of doing some cropped summer overalls for T. but I didn't get around to it. Then this year when I was planning his summer SWAP, I decided to make these part of it - sort of. They didn't really go with the general color scheme but he always has a blue or red t-shirt of some kind, so they'd fit into his wardrobe without necessarily needing the pirate shirt. The pants are from Ottobre 2/2005 and they are #23. I chose this pattern because the magazine actually showed the pants made up in a stripe fabric and it immediately reminded me of the twill that I already had. I wasn't sure about adding the knee patches, but decided to do it and used some dark denim from my stash. I used it for the faux pocket-flaps on the back, too. The pocket lining is a navy cotton with white stars. I used red topstitching thread for these pants so that it would pop against the navy knee patches. And although the pattern calls for rivets at the knees like commercially-made jeans have, I don't know where to find those locally or online, so I just did bar tacks at the corners.


The length of the pants makes them a perfect transition garment, for those early fall days when it starts out cooler but warms up enough by afternoon for the kids to want shorts. The elastic waist and faux-fly make them easy to put on and take off, which is nice when you're in a hurry to get into your bathing suit! This pattern is easy to make up but has enough details to make it more than just basic shorts. I'm definitely using it again in the summer.


The pirate boy shirt is Imke from the SCKL book. This version uses the straight-cut sleeve and the rounded, sporty hood. Gwyneth's has the pointy hood with the tassel. I used a red and white stripe cotton-lycra knit for the hood and lower sleeves and a medium weight navy cotton solid. It may have some lycra in it but I got it as a remnant so I don't recall. I didn't have enough of the stripe to do 2-layer sleeves, so these are single-layer sleeves made to look like 2-layer ones.
 On the right sleeve we have the skull and crossbones iron-on and pirate kid ribbon from Banberry Place; the left sleeve features a double ribbon trim, with blue and red star ribbon from Farbenmix on top of a navy grosgrain ribbon with red pick-stitching. Embellished, but not too girly.

Sleeve detail - right.
Sleeve detail - left.
As I said before, I made this shirt because I had the iron-on pirate boy. It looked great the first time T. wore the shirt, but then it lost a foot! Apparently the glue wasn't fully activated. Anyway, here's the look of the shirt-front, minus a pirate foot:

I'm trying to figure out a way to add a new foot that doesn't look too weird, so I'll post an update if/when I get to that.

Tuesday, July 30, 2013

Pajama Time!


It seems like my kids always run out of things that fit in stages that go by types of garment. Around Christmastime I realized that Mr. T was in desperate need of new pajamas. His old ones were all too small and I was reluctant to go out and buy new ones, given the vast stash of fabric in my storage room. So I got out a pile of knits and had him choose 3 prints to work with, for 3 new pairs of pajamas. He ended up choosing a print with dogs (some of which are blue) on yellow, a jungle print in green, aqua and brown, and - his absolute favorite - a "breakfast" print of eggs, bacon and toast. Breakfast-themed prints seem to be his thing; his favorite RTW t-shirt is a face whose eyes are fried eggs and whose mouth is a strip of bacon. Go figure.

I used my go-to pj pattern, the "Stripey Legs" pants and "Night Owl" shirt  (nos. 34 and 35) from the Winter 2009 issue of Ottobre. This issue is one of my favorites and I've made quite a few things from it by now. Since I wasn't sure if I'd have enough of the prints to do both the shirt and pants for each set, I decided to throw in a complementary stripe for each one: two-tones of blue rib knit for the dogs, green with white stripe interlock for the jungle print, and yellow and orange rib knit for the breakfast print. I used brown ribbing for the cuffs of the jungle and breakfast prints, and a cobalt blue ribbing for the dog print.

Crazy before bedtime.
I've made this pattern a couple of times and used a few different techniques to sew it together. The directions call for you to lap the seams and then sew them with "a flat lock stitch", by which I assume they mean a coverstitch. I don't have a serger that does a coverstitch so I've used the honeycomb stitch on my regular machine in the past and that's one they recommend in lieu of the coverstitch. I've also constructed them using regular seams and topstitching them. This time I decided to try a flatlock stitch on my serger, which gives a smooth seam on the inside and has the seam allowances on the outside. It worked out okay but I don't think I'd do it again, simply because the exterior seam allowances are a little bulkier than I'd like.

Jungle Jammies!

The other issue I came across this time is that, because I used the blue striped rib knit for the body of the shirt, the neckline was slightly bigger than I would have liked. Darn that rib knit! I should have stabilized the necklines before I sewed the binding on. It's not a glaring fit issue and it makes it easier for Mr. T to get the shirt on over his big head, but still.

All in all, a very successful week of sewing these. If only I could get in the sewing room more regularly! And if only I could remember to post about them in a more timely fashion! At least I was able to do them in a sort-of assembly line style. Using the brown for 2 pairs meant I didn't have to change thread for each set and that's always a time-saver.

Now he needs more pants. It never ends.

Sunday, June 2, 2013

Summer SWAP for the boy - Part 1

I'm trying to get a jump on the summer garment sewing for Mr. T, since it usually sneaks up on me. He's pretty much growing out of the size 4T things from the past year, so everything is needing replacement pretty soon. Back in February and March I started going through my Ottobre magazines and sketching out things I wanted to make for him, just so that I'd have an idea of what fabrics I wanted to use and what I'd have to buy. I really tried to focus on using fabrics already in my stash so that I'd have to buy very little. This meant that I could also try to make everything fairly mix-and-match so that there wouldn't be any mismatched clothing if someone other than me picked out his clothes. I've got all the patterns traced and am cutting things out in bunches, keeping the knits together in groups so I can sew several garments at one sitting without having to change needles or rethread the serger. It makes the process go really quickly.

As of right now I have 4 t-shirts completed and 1 short-sleeved hoodie. The hoodie is from a burnt-orange and cream 100% cotton French terry. It has some stretch because of the lofty, almost loose knit but no lycra, so the stretch is fairly minimal. For this I used the # 25 "Eleven and One" pattern from the 1/2011 issue of Ottobre. This pattern actually calls for a lining in the hood and the sleeves, but I felt that it would be too warm for summer if we used a lining, even if it wasn't in the body. Additionally I thought that a lining would drag down the loftiness of the hood and make it droopy. Instead of using the lining, I simply turned the edges of the hood under twice and stitched it down. I did the same thing with the sleeves. I contemplated making a front pocket but then the summer 2013 issue arrived with a short-sleeved hoodie pattern for babies and I thought I could use the leftovers to make a matching hoodie for the baby. I wasn't sure if I'd have enough fabric for that if I added a pocket to the larger one, so I left it plain. I did add a piece of contrasting ribbon with dragons on it at the bottom, just for a cool detail.


The first 2 t-shirts are made from the 3/2007 issue of Ottobre -# 20 Slim Fit T-shirt. The first is made from a striped interlock knit in aqua and chartreuse, with dark brown ribbing. I can't remember where the interlock came from but I think I got it on eBay and it may have been a Chez Ami knit. Don't quote me on that, though. All I know is that it's super soft.


The second of the Slim Fit T-shirts is made from a surfboard-print stable jersey that also came from either an etsy seller or eBay. My only problem with this shirt is that the fabric was a beast to work with due to the fact that it was twisted and the print was off-grain, making the rows of surfboards slant. I tried to avoid this at all costs but it would have created a shirt that twisted miserably if I had tried to make the surfboards line up straight. I almost gave up on this print but T. wanted a surfboard shirt so much that I decided to try to make it work and the end result isn't that bad. The ribbing is orange ribbing from my stash.


The last 2 t-shirts are from the 3/2008 issue of Ottobre - the # 10 "Bat" t-shirt. This shirt has a looser fit than the first 2 and a chest pocket. The first is made from 2 different interlock knits - one solid orange and one a cars print in cream with brown, orange, aqua blue and sprout green. I like the contrast of the bright solid sleeves with the print body and I really like the way the turquoise ribbing looks with the orange.

The second "Bat" t-shirt is made from a beautiful tie-dye 100% cotton rib knit that I got in a remnant bin somewhere. It was already dyed when I bought it, though it does look like I could have dyed it myself. The binding on the neck and sleeves is made from an olive green interlock remnant from my stash and I decided on the interlock based on how thin the rib knit is. I felt that a chunkier knit or ribbing would have distorted the neckline due to the difference in weights. These 2 are really close in weight and look great together, as evidenced by the really smooth seam. I love the way this looks. I added the dragon ribbon to this one, as well.


Next up, a couple of pairs of shorts, including some 'summer' sweatpants and probably 1 or 2 more t-shirts.

Tuesday, April 30, 2013

Mustache Man


My T-bird is currently very into the whole mustache thing. I don't know why, except that he thinks they're hilarious. So when I noticed that he was in need of another long-sleeved shirt or two, I decided that he ought to have one with a mustache, and I reasoned that it would be an excellent first project for test-driving my embroidery machine. So I checked out Urban Threads, a cooler-than-average website with lots of trendy embroidery downloads for sale. The search term 'mustache' brought up quite a few embroidery designs and I chose a rather large mustache that was fairly simple in design.

Mustache detail.

I'd already sketched out a plan for this shirt -2 layer sleeves (short over long) with a slightly scooped neck from the Fall 2008 issue of Ottobre. This is the "Pekka" shirt, design #25 and made up in a size 110. It's slightly large right now but it won't be in the fall. The main body of the shirt and the short sleeves are made from a cafe au lait-colored interlock that I got from The Fabric Fairy. The longer sleeves are a two-toned brown striped rib knit from my stash and the brown ribbing is from my stash, as well. The ribbon trim on the sleeves is a green frog print that is reversible and came from Banberry Place. I was a little nervous about the embroidery, since it was the first time I'd used the machine; however, it was really easy to do and now I want to embroider all kinds of garments! Next project, a shirt with a triceratops embroidery.

Frog ribbon - I used both sides.
The pants shown with the shirt are also mommymade and they're also from Ottobre, this time from the Fall 2003 issue, design #13. These are made from olive green ripstop cotton that I had left over from making shorts a year or two back. They have pleated pockets, golden brown-colored topstitching and a striped ribbon detail on the pocket flap. The bottoms of the legs have drawstrings of black shock cord with black stoppers. My one problem with these pants is that the snaps on the pockets aren't really functional, due to me accidentally getting carried away with the hammer when I put them on. It's not my fault - I wanted them to be on securely! Anyway, this pattern is fairly easy to put together and I've got another pair cut out already - this time in brown and tan, using some leftover denim and recycling part of a pair of daddy's pants. I hope to get those finished soon and then it's back to the maternity bathing suit, which got put on hold due to lack of good elastic and the need to finish this shirt so it could be a birthday present. And then there's the dress I made for a friend's daughter, but that's another post.

Monday, July 2, 2012

Peter, Peter, Pumpkin Eater


Okay maybe not a pumpkin eater. But definitely a pumpkin wearer. Mr. T looks good in orange (at least I think so) and in homage to my dad and The Netherlands, I've become fond of dressing him in orange. Plus, there's always the benefit of being able to spot him in a crowd if/when he runs away from me. Which happens more frequently than I care to think about.

This orange isn't as bright as some other things he has, but as soon as I saw this French terry on etsy, I knew I had to have it. It's really a burnt orange color mixed with a dark brown, in a medium weight, which makes it an ideal layering piece. This pattern is from the 4/2007 issue of Ottobre, and it's known among those who use Ottobre due to its round pocket openings, which are such a cool design feature.


I went with a cotton interlock in a car print for the hood and pocket lining, since the cars have the brown, orange and linden green colors I was using in my SWAP (yes, this is part of that). There are some turquoise ones, too. Plus it matches the striped Hilco ribbing that I got from the Ottobre etsy shop. I didn't have a lot of that so I used a plain dark brown ribbing at the waist, since that piece had to be wider.


As you can see, I had a little bit of trouble lining up the stripes on one of the pocket openings, and the stitching that holds the lining to the body of the sweatshirt is a little bit too close to that opening. I was in a hurry and didn't bother to draw a chalk line before I stitched it. Live and learn. The stitching itself is a new decorative stitch from my machine which is even more like a coverstitch in its appearance than the triple-honeycomb, which used to be my go-to for the RTW look.

Saturday, May 19, 2012

Bath Time!


Mr. T's birthday was last month and he wanted a bath robe. I'd been thinking of making him one since the winter 2011 issue of Ottobre had robes in it but hadn't gotten around to it. A birthday present is always a good excuse for making something, and it was a change from the other things I'd been working on.


This pattern calls for the robe to be made up in 2 different fabrics, with the outer layer being a poplin or other similar woven fabric and the inner layer being made of flannel. Flannel is okay if you're looking for a warm robe but doesn't work so well for absorbing water when you get out of the bath. I decided to make the inner layer out of terry cloth so it would be more useful as an after-bath garment. The good thing about this pattern is that the lining isn't made to be sewn right sides together and then turned - the robes are constructed as 2 separate pieces, with the hood also being separate, then putting them together so that the hood is sandwiched between the 2 layers but the wrong sides of the 2 layers are together. Which means that you need to finish the edges with a bias binding or else you're left with raw edges. Of course, this enables you to use a fun contrasting fabric.


I used a cotton woven from JoAnn's in a rocket ship print that Mr. T chose himself. Actually, he carried that darn bolt of fabric all over the store and didn't want to let go of it, until Scott handed me the bolt and took the boy out to the car. The blue cotton terry also came from JoAnn's. The bias binding is red with a white star print, left over from the girls' Delft dresses from 2 years ago. I also used it for the pocket, one side of the belt and as belt loops - the pattern doesn't call for belt loops but without them you'd have to sew the belt on at the back, and I wasn't willing to sew through the terry layer to do that.
Here's a shot of one of the belt loops:


This was remarkably easy to do, although the bias binding is slightly time consuming. This pattern seems to either run small or my son is extremely large for his age (I've been told this on more than one occasion) because this is a size 104 and it fits perfectly. Normally he wears a 98 but I know from experience that European robes always seem to be shorter than the ones you find in the U.S., and I wanted to be sure it would fit, especially since the terry was thicker than the suggested flannel. Also, the hood is shallower than one might expect.

As you can see from the first photo, he's incredibly happy with it and he wears it prior to and immediately after every bath or shower, which is a bit unexpected.


Thursday, May 17, 2012

Mr. Green + Jeans

It never fails to amaze me how many pairs of pants Mr. T actually needs. It took me forever to work my way through the SWAP I was doing for him, and I'm still working my way through it. These pants are both made from the same pattern, just in different fabrics.

This pattern is from the Fall 2005 issue of Ottobre, the #15 jeans/velveteen pants, in size 98. Let me say that this style is an extremely wide leg, so if you don't like that style of pant, this is probably not one you'll like. I like the knee patches and unique pockets on it, as well as the fact that it has an elastic waist, which makes them easy for the boy, since he doesn't have to struggle with a zipper when he has to use the potty. Funnily enough, the wide leg comes in handy for that, too, since he does better without pants around his ankles and I find that with these pants I can slip one leg out without having to remove a shoe. So much better in a public bathroom, right?

"Treasure pocket" made from contrasting color.
Anyway, these are made up in a kiwi-green brush denim that is an unusual color but it works really well with a lot of the things I've made in the SWAP. There is dark brown topstitching on the pockets and seams, including the knee patches. On this pair I chose to use a different fabric for the little "treasure pocket" on the left knee patch; I used tan-grey denim left over from the knight jeans that he outgrew. The cool thing with the pockets is that you only need to finish one side and the bottom, as the outer side is inserted into the side seam of the pants.


Back view
The second pair from this pattern was made from blue denim with brown pin-stripes. The magazine shows a denim version of these pants which uses the wrong side of the denim for the knee patches as a contrast. I didn't really like the wrong side of the denim, but I decided to jazz things up by alternating the direction of the stripes  on the knee patches, as well as on the back pocket and hip areas. I like things colorful, too, so I decided to use a red thread for the topstitching. I love the way this turned out.

This is an easy pattern to put together, although the stitching on the pockets and the knee patches is time consuming. You could just as easily eliminate the knee patches and the decorative stitching on the pockets though, and just have a basic wide-legged pant. I did have one problem with the instructions and that was with the waistband. I just didn't get it. I made the green version first and tried to follow the instructions but it just didn't work for me. I thought maybe I was tired and I looked at them again in the morning and no, still not working out. I decided to just serge the edge with the seam allowance, then attach the waistband, so that the served edge would be on the inside. This way you end up seeing the edge but it's not unfinished. The instructions call for the inside edge to be turned under but I seemed to not have enough fabric left. Perhaps my elastic was too wide, owing to the fact that it doesn't come in metric here in the U.S. That would explain it. In any event, I love the way these turned out and they look adorable on him.


Wednesday, May 16, 2012

T-Shirts for Mr. T


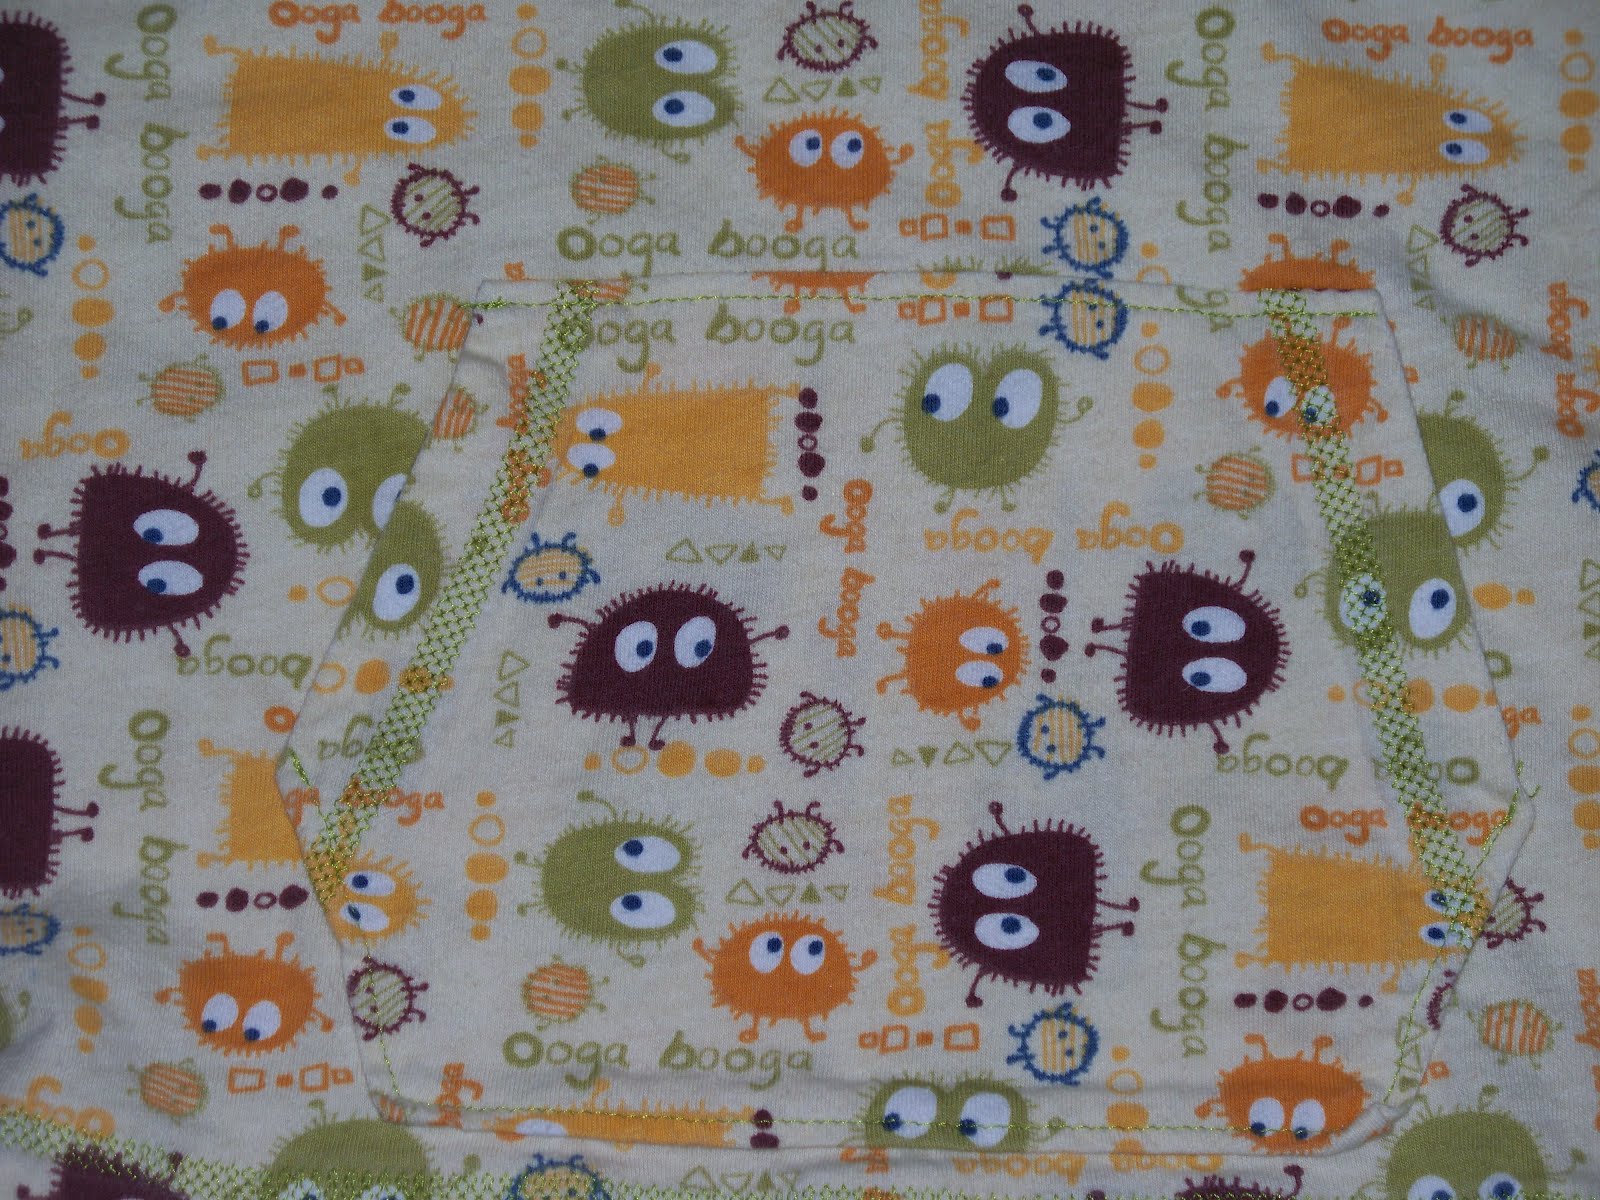
I mentioned before that I'd traced some Ottobre patterns and by the time I got around to cutting them out, he'd grown enough that they wouldn't fit for long. I figured this out by cutting out the shirt you see above. This is the #12 shirt from the 4/2010 issue. I'd traced and cut it out in a 92 and sewed it up, only to discover that T. had grown enough for it to be rather snug on him. The shirt is supposed to look like two in one, with the hood in a contrasting fabric, so I dug up some brown and red Campan knit from a previous shirt I'd made him and used that for the hood. I'd already used olive green ribbing because it goes so well with the Ooga print but it didn't look good with the brown and red, so I went with the maroon ribbing on the hood. It definitely gives the impression of two different shirts, although it's obvious from the fit that it's just one.

border="0"alt=""id="BLOGGER_PHOTO_ID_5719466894329964178" />

Here you can see the front pocket a bit better, although it still blends into the body of the shirt. I used the triple-honeycomb stitch on my machine to imitate a RTW coverstitch. Anyway, it works well and I used the same stitch when I made the drawstrings for the sweatpants in the previous post.
Having realized that the boy needed a 98, I cut out new sizes for him in 2 other shirts. The first is the Hippotamus Hoppulainen shirt from the 6/2010 issue. I like this shirt because I think it lends itself to a mix of fabrics while still looking sporty and boyish. For this I used the Michael Miller dinosaur interlock and a piece of orange and red Campan knit. That Michael Miller stuff shrinks like nobody's business and it's super soft! Maybe that's why it shrinks so? Anyway, the ribbing is a beautiful turquoise from JoAnn's. I wish it were slightly more green in color but I like the contrast of the turquoise with the orange.


This piece of Campan was really small - not even a half meter, so I had to really work to fit all the pieces when I laid it out. As you can see, I used the stripe for the front, back and the stripes on the sleeves. This shirt goes really well with the brown sweatpants in the previous post.


Last shirt in the list is the Pistachio-Chocolate reversible hoodie from the 4/2009 issue. I wanted something to match the blue sweatpants and dug out a printed stripe knit that I'd used for outfits for the girls about 4 years ago. I'd used it for an accent to a print, but it seemed like a good boy fabric. Then I dug around in my stash and found the world's softest navy cotton knit this side of paradise - totally serious about this. I want to curl up in it. Anyway, add to that some olive green interlock and some maroon ribbing and you get this:


I decided that I wanted the pocket and hood on the stripe side to match - hence the decision to do both in green. I used that tripe-honeycomb stitch again for the pocket hems and as topstitching on the sleeve hems. The navy side would have been too plain with a navy hood, hence the stripe. T. loves this shirt and wears it a lot with either pair of the navy "soft pants". It's his "cozy" outfit. I haven't gotten him to wear it with the navy side out - I suspect he likes the way it feels against his skin too much. But it would look fantastic on the navy side with the sleeves rolled to expose the stripe on the other side. This shirt is pretty heavy and he gets hot pretty easily, so I don't have him wear a shirt under it, though you could if you used thinner knits, as it's cut quite roomy. My only problem with this shirt is that I forgot how much the stripe fades, since it's not yarn-dyed but printed. Ugh. But he doesn't seem to mind and it gives it a sort of worn-in look that is generally achieved in RTW with acid washes and the like.

Boy oh boy!


I seem to have been remiss in blogging the many things I made for my son this fall/winter. So. Much. Stuff. So let's jump in.

Starting off with the pants:

This is, unfortunately, a pair of jeans that Mr. T rapidly outgrew. These are the "Rock Me" baby jeans from the 3/2009 issue of Ottobre, made in a really cool mottled grey and tan denim, with accents of khaki and white star print. The back pockets are embellished with Farbenmix knights ribbon, for a bit of pizzazz. The denim came from fabric.com and the ribbon came from etsy. I have to say that while this pattern is cute, it doesn't leave much room at all for growing. Had I known that I probably would have chosen something different. Alas, it's too late now. Maybe I'll have another boy and get some more use out of these. As it is, I had him wear them until they started to look ridiculously short before I put them in storage. I love how the characters on the ribbon look like the drawings from the book "The Princess Knight".


Next up, sweat pants or "soft pants", as my son likes to call them. As in,"Mommy, you make me soft pants???" My husband is afraid T. will grow up to wear track suits like the guys from the Sopranos, but right now he's all about being cozy and I'm all about the pants being easy to get on and off.


These are made from the same pattern, City Mouse sweatpants from the 4/2011 issue of Ottobre. I had traced a 92 but realized that he'd grown and wasn't going to be able to wear them very long, so I decided to trace up a size. This was a bit awkward, since the pattern only went up to a 92. I used a method from Teri's blog, Mermaids and it worked really well. I plan to use this for other items that I need to size up 1 size. Anyway, the brown pants are brown stretch French terry from Sewzanne's, with striped ribbing from the Ottobre shop on etsy. A very good deal, since you buy a meter but then can divide it up and get different colors. I got orange and brown, as well as orange and linden green and orange and light blue. The second pair is from a really heavy-weight non-stretch cotton sweatshirt knit that I got at JoAnn's. I also got the maroon ribbing there. The drawstrings for both pairs is cotton rib knit that I had in my stash. The third pair (pictured at the top) is the same navy but I had to piece the legs in order to have enough fabric. The green ribbing is also from JoAnn's.

Next up, shirts but I'll do that in a separate post.

Friday, February 11, 2011

Let's Hear it for the Boy


Despite the fact that there are so many more patterns for girls and so many more options for fabrics with fun prints and bright colors, I'm developing a love for sewing for a boy - thanks in part to the amazing boys clothes I see in Ottobre magazine and in the photos you can see in the Flickr gallery for the Yahoo! Ottobre sewing group. When I lived in Germany I always saw tons of cute little boy clothes at H&M while shopping for my girls and wished that I had a little boy to dress, or at least hoped that I'd be able to find clothes as colorful and cute in the States if and when I had a boy. Well, I did have a boy and now I have to buy all kinds of clothes for him because all I have saved from my girls is, well, too girly. Thank goodness for Ottobre and my sewing skills.

In my last post I had pics of a pair of overalls that I made for T-bird and mentioned that I needed more pants that would fit over cloth diapers. I've since had to switch to disposable diapers, much to my dismay and - dare I say it - shame. He just pees too much. I can't keep him in a cloth diaper for an hour without him peeing through it and his pants, necessitating not only a diaper change but a change of pants, too. I'm hoping that I'll be able to find a solution to this soon so that I can get him back in cloth, so I continue to make pants that are roomy.


First up is a pair of striped corduroys, made with the Kaarna pants pattern from the 6/2009 issue of Ottobre. This is the 3rd time I've made this pattern and, believe it or not, these are a size 74! I've made these lined, according to the pattern instructions, though I've also made them without lining and have another pair of denim ones in the works which won't be lined, either. In any event, I was afraid that these wouldn't fit T-bird anymore because I cut them out in January of 2010. As it was, I couldn't get more of the corduroy to make a larger size and it had already shrunk enough in the wash that I didn't have enough to cut the pockets from the stripe, so I had to use solid brown cord. And I didn't have enough to match the stripes on the pants backs with the yoke pieces. Other than that, I love these.


I was happy that I had enough striped cord leftover to bind the pockets, since there are so many great colors in the stripe and I'd really wanted to do the whole thing in the stripe, maybe using the teal lining as the pocket binding. It came out all right and we got several compliments on these the other day while we were out. I was also really happy with the way that the waistband turned out, even though after I'd completed them I discovered that I'd somehow cut the elastic too big and then had to take them apart in order to shorten it. I really like the look of the knit waistband and the drawstring. This drawstring is a heavy-weight twill tape that I saved from a gift it was wrapped around. The teal color matches the lining almost perfectly.


The second pair of pants I love but also have mixed feelings about. These are the "Outdoor pants", #12 from the 4/2007 issue of Ottobre. I love the design of these and the way that the topstitching can really be a decorative feature. The fabric is a stretch rip-stop cotton in a med-heavy weight. I didn't realize it was stretch when I bought it and for some reason it seemed darker in the store. Now the color looks really light and I'm wondering how well it will hold up to dirt. I may decided to tea-dye them to see if they'll get darker. Until then I really do like the way that they turned out.

My favorite part of these pants is the way the waist turned out. The pattern calls for a standard drawstring, made with poplin or other cotton woven fabric. Because the topstitching is red I wanted to do something red, and it happened that I had quite a bit of red bungee elastic left over from a different project, as well as a red toggle. I thought that this type of drawstring would add a sporty look; I even found red eyelets in my stash of notions, which add another great pop of color against the light color of the pants. Since part of the problem I have with pants that fit over cloth diapers is the fact that they have a tendency to fall down, even with a drawstring, I'm hoping that the elastic drawstring will provide a better fit. If that's the case I'm definitely going to do it again.The other elements that really add interest to these pants are the darts which add shaping at the knees, the pockets and the decorative patch on the back. While the directions call for a contrast color to match the drawstring, I was afraid that a red fabric would have a tendency to run and I didn't want the pants to end up coming out of the wash pink. I'm really happy with the look of these, although I haven't tried them on T-bird yet. If they end up being a go-to pant, I may decide to make another pair in a darker color in the fall. I'll probably make that pair out of twill or lightweight canvas.

That's what I've finished recently. Right now I'm working on a Farbenmix Sasha dress for a friend's little girl, which I'm absolutely loving. It's bright and colorful and has tons of embellishments (oh how I wish I had an embroidery machine!), including a patch from Oilily that I got in a group of patches on ebay. I promise photos of this dress and if I can get the boy to tolerate it I'll have him model it, since my friend lives in Louisiana.